As someone who has just moved to a large university, I decided it was a good enough to begin the execution of something that has fascinated me for a while. An electric skateboard. What a great idea, right? Take something that requires balance and skill to ride, and the amount of skill needed only increases as you go faster. Then take that and put a motor on it that can pull me 20mph.
I live on the edge.
That's completely untrue. I didn't decide to do this to go fast and furious. I'm making it because I'm lazy. I wanted to begin a project that would take my love for working with electronics and combine it with something I've wanted to try my hand at for a while: woodworking. So I got a motor, speed controller (shoutout to Benjamin Vedder for his amazing vesc), and huge battery to strap to a deck.
The deck began with a big sheet of 1/8th" Baltic Birch. A friend had just finished making a press himself, and he let me use it. What luck!
I chose to press 5 sheets. This makes for a very thick board with very little flex. I like boards with flex but I knew that my battery, especially with its hard plastic case, would go under the majority of the board and wouldn't like the bending.
Before pressing, I printed out a design template by Silverfish Longboarding and traced it onto the wood. After pressing, I used a bandsaw to cut out the basic shape. Then a rasp, some files, and a power sander (power tools are life-changing) to get it as perfect as I dared. Then I used the router and a file some more to round the edges.
Here it is directly after cutting.

And here it is after all the shaping! I set the battery housing and trucks on to make sure my sizing was right.

Looks good! But it could look better...with some stain! Here's the bottom stained.

Next, the top. I did the top a really nice looking shade and then the bottom darker to hide dirt, then decided to add some darker stripes across the top to make it look even sexier. To do the stripes, I put electrical tape across and stained inside it. It worked way better than I expected, the lines came out quite straight. But I know what you're thinking: what's a good skateboard without a sick logo? At least, that's what my brother-in-law thought. So he designed a great logo for me. It not only has my initials, but it also looks the same from both directions as a good longboard logo should.
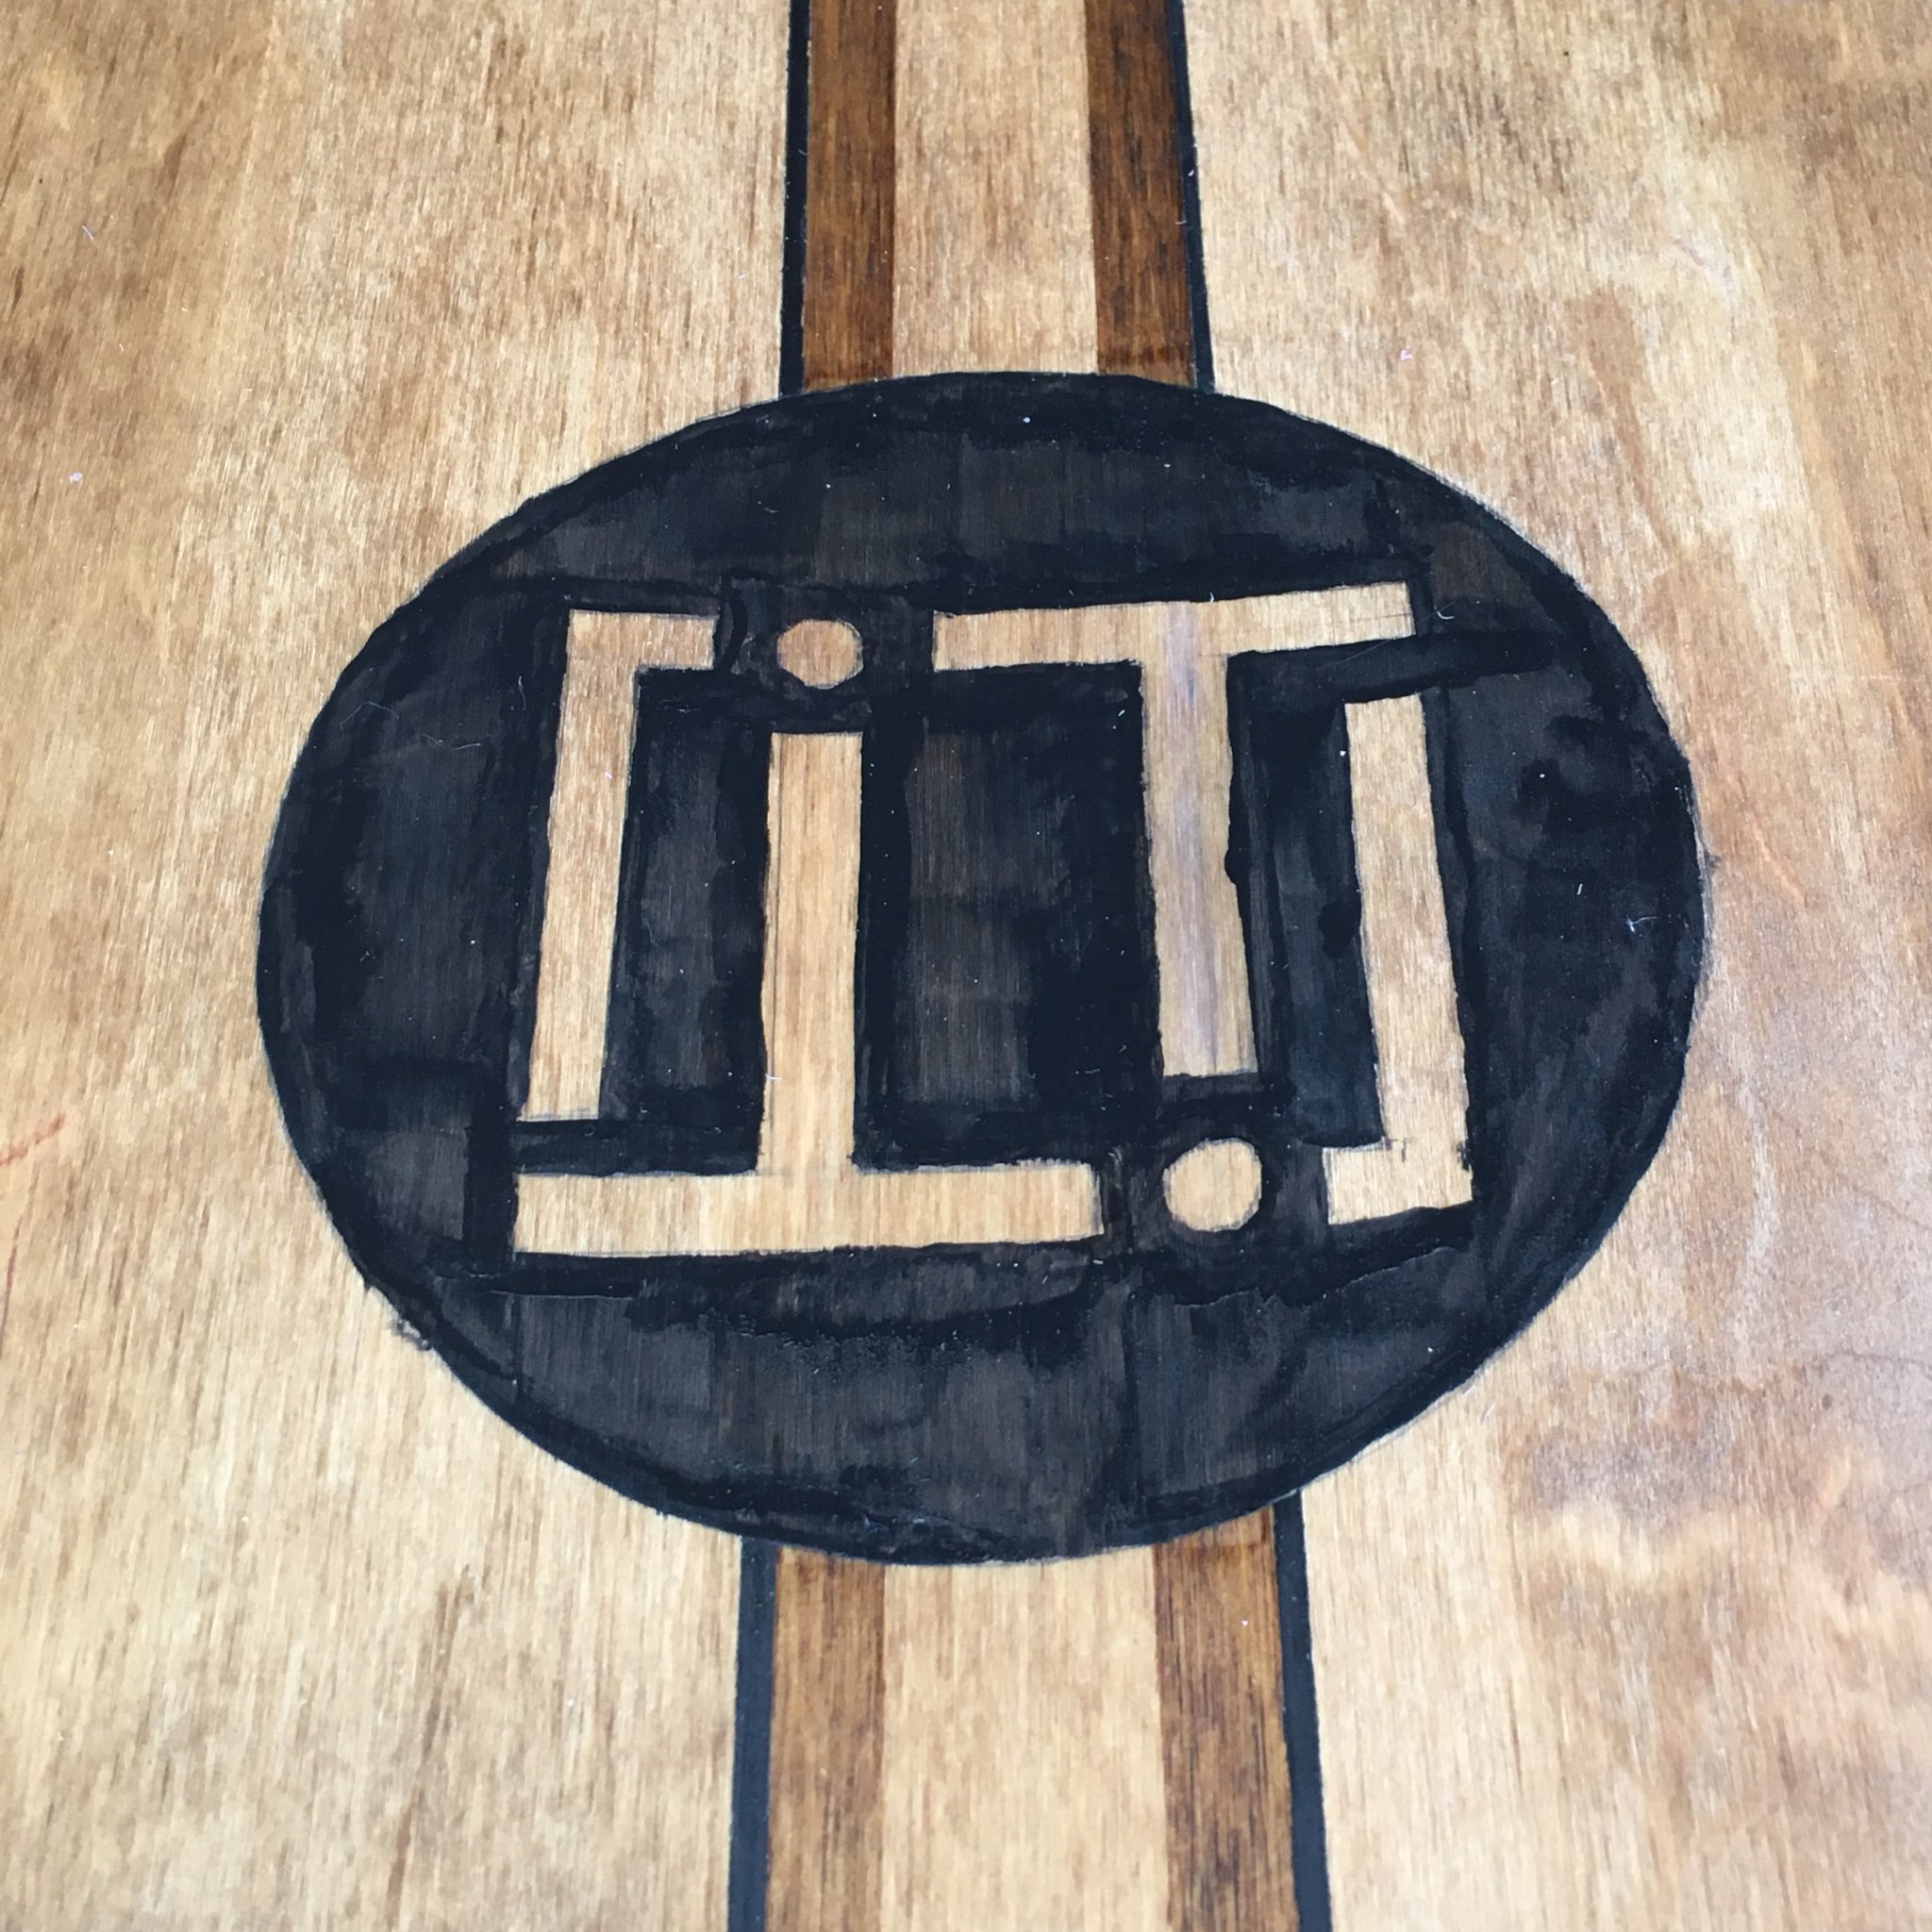
Isn't it awesome!? Finally, after staining the stripes and painting the logo, I wanted to add a clear grip that would allow all that hard work to be visible. I also needed something to protect the designs from wear and weather. I was able to achieve both by coating the board with fiberglass. This gave it a thick glossy finish that would keep the pretty wood from getting damaged. I also added a product used to add grip to boat floors into the layers on top for grip tape.
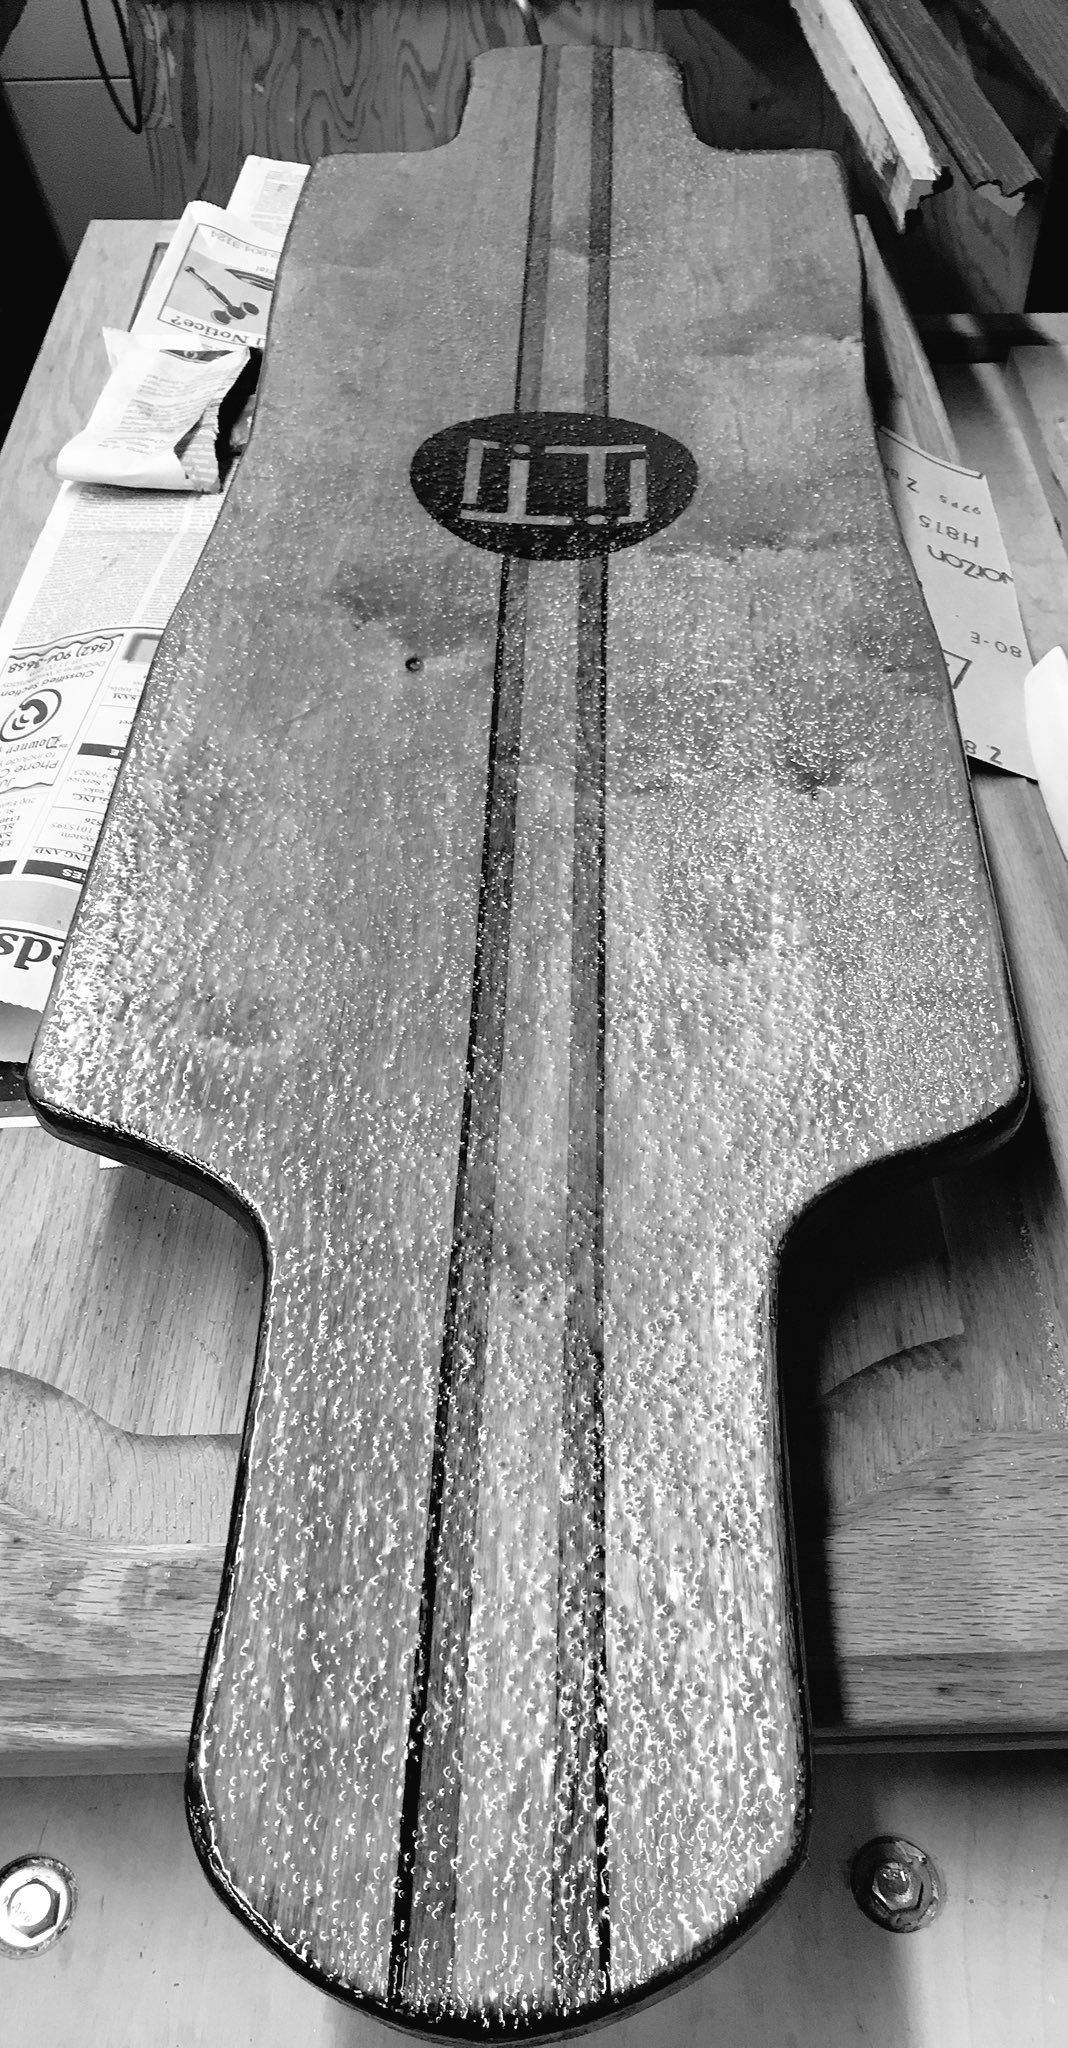
This worked out really well! It added a good amount of grip but also looks good, and keeps the logo and design on top of the board visible.
Once the board was done, all that was left was to add the battery pack, trucks, wheels, and motor. Works like a charm.

And of course, if it works for me, who better to test it than a small child?
If a six-year-old can ride it, I'd call it a job well done!